How To Screen Record On Mac
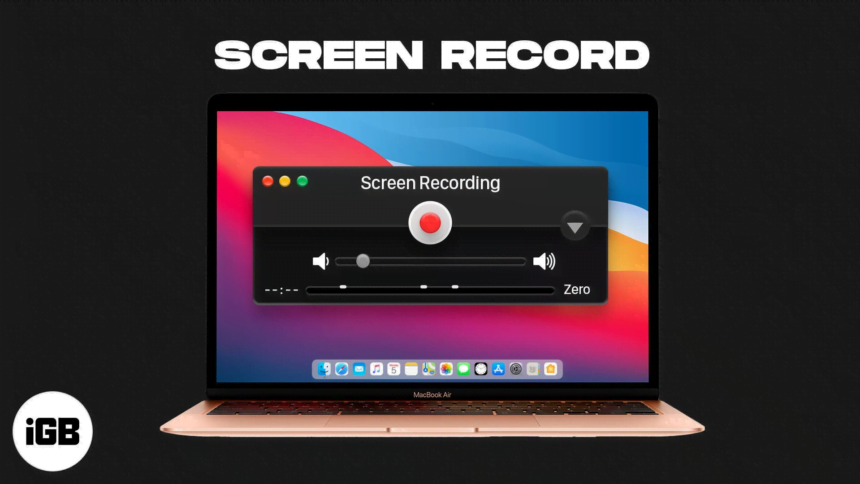
Are you ready to become a Mac whiz and master the art of screen recording? In this step-by-step guide, you’ll learn how to screen record on Mac like a pro. Mac’s screen recording is versatile for tutorials, gameplay capture, and saving video calls, aiding various objectives effectively. So, let’s dive in and learn how to screen record on Mac in ten easy steps!
Understanding the Basics of Screen Recording on Mac
Dive headfirst into the digital ocean with a bit of know-how about screen recording on your Mac. Capture every screen action—clicks, laughs in calls, epic gaming moments—like bottling digital experiences for later enjoyment or sharing. Screen recording: your Mac’s magic wand, capturing screen and audio seamlessly, transforming them into tidy video files.
It’s like having a digital time capsule, allowing you to revisit any on-screen action whenever you please. Master screen recording for viral tutorials or immortalizing victories; it’s the gateway to digital wizardry and nostalgia. So, let’s get ready to turn your screen adventures into viewable treasures without needing a Hogwarts degree.
Preparing Your Mac for Its Screen Recording Debut
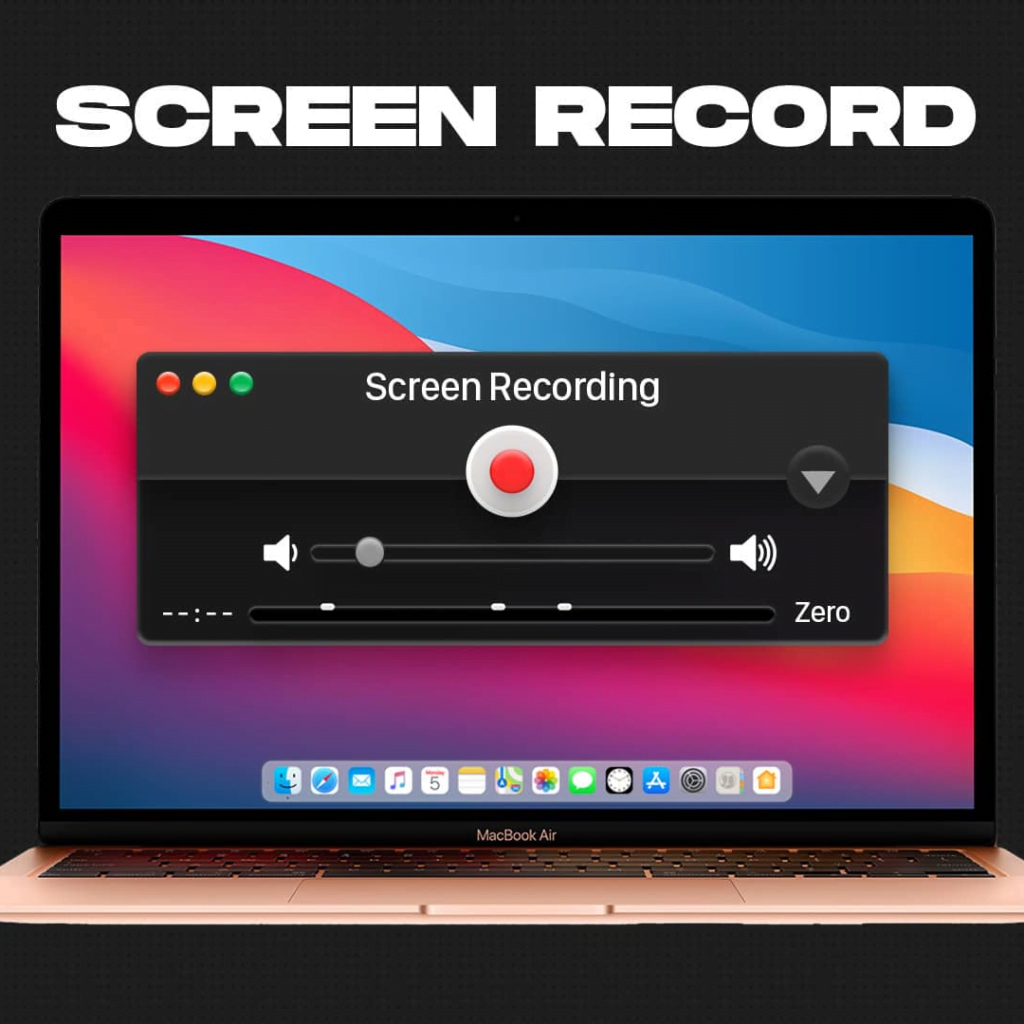
Before you hit the big red button and make your screen the star of the show, there’s a bit of housekeeping to do. Think of it like prepping your Mac for a red carpet event. First off, check your digital closet for space. Video files are like those bulky winter coats; they take up a lot of room. You wouldn’t want your recording cut short because your Mac’s storage is bursting at the seams, right? Next up, close those background apps.
They’re the equivalent of noisy paparazzi – distracting and unnecessary for your big moment. Smooth Mac performance, buttery voiceovers, sleek screen recordings—aim for seamless quality, akin to a well-edited movie trailer. Stage set, Mac primed, now assume the director’s chair for your screen recording debut—your time to shine. Lights, camera, action!
Accessing the Screen Recording Feature
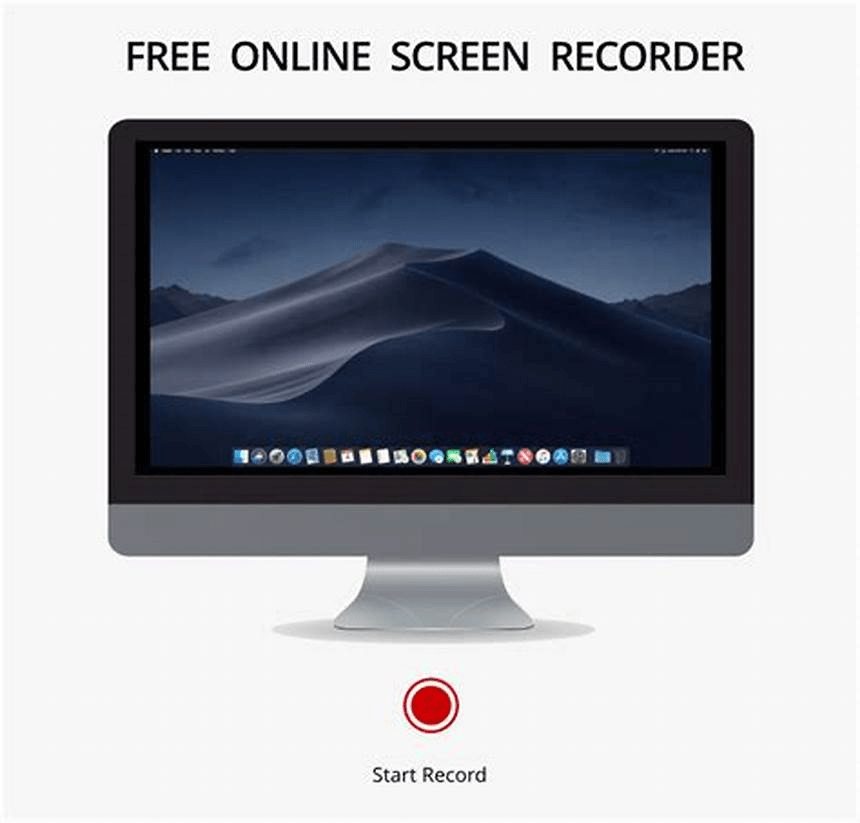
Buckle up, future director, because finding your Mac’s screen recording feature is as easy as pie – an apple pie, to be precise! Ready? Hold down Command + Shift + 5. Bam!The screen recording toolbar appears magically, quicker than a jack-in-the-box, offering myriad options to turn dreams into reality.
This little toolbar is your gateway to capturing digital greatness, a veritable Swiss Army knife for your recording needs. Now that you’ve got the secret handshake down, you’re one step closer to turning those screen recording ambitions into blockbuster reality. Remember, this isn’t Narnia; no wardrobe diving needed – just a simple keyboard shortcut and you’re in business.
Choosing Your Screen Recording Type
Welcome to the moment where your screen recording journey gets a touch of customization! It’s time to play Goldilocks and choose just the right screen recording type for your needs. Are we going for the whole shebang with a full-screen recording, capturing every pixel of digital real estate? Are we zeroing in on a screen nook, spotlighting a chosen area, akin to a director framing a perfect shot?
The choice is yours, and it’s as easy as clicking a button on the screen recording toolbar. A creative wand, granting the power to choose between grand panoramas or detailed close-ups of your digital realm. So, think about what you want to showcase, and let’s tailor your screen recording to fit just right. No porridge required!

Adjusting Your Microphone Settings
Picture setting the stage for a Broadway hit—your screen recording as the star, incomplete without crystal-clear sound. Enter the unsung hero: your microphone settings. Within the world of the screen recording toolbar, there lies a treasure chest of audio options. Clicking the “Options” button reveals a dropdown menu where you can select your microphone.
It’s like picking the perfect microphone for your lead singer, ensuring that every word, laugh, or sigh is captured with the clarity of a bell. Think of it as tuning your instrument before a concert; selecting the right microphone input ensures your audience (or viewers) receive the full experience, not just a visual feast but an auditory delight. So, don’t let your screen recording sing acapella—give it the rich, full-bodied sound it deserves by adjusting your microphone settings. After all, a good performance captivates all the senses.
Starting the Screen Recording
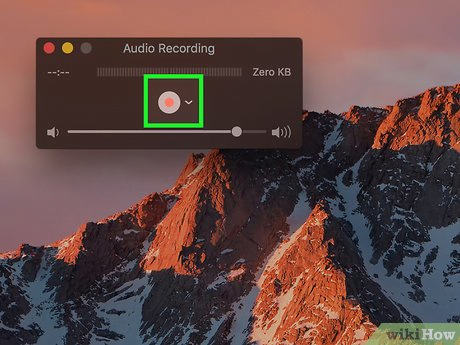
It’s showtime! Picture yourself as the maestro of your own digital symphony. With the stage set, your cast of pixels ready, and the audience (aka your future viewers) eagerly awaiting, it’s time to lower the baton and start the screen recording. Just hit that “Record” button on the screen recording toolbar. Feel the anticipation build with a short three-second countdown—use this moment to clear your throat, straighten your posture, or give a last-minute pep talk to your screen.
As soon as the countdown fades, you’re live! The digital canvas is yours to paint with actions, words, or whatever your heart desires. Sail through your tasks with the grace of a seasoned conductor, knowing every click and scroll is being captured for posterity. Remember, this is your spotlight moment—make every pixel count!
Tips for Recording Like a Pro
To elevate your screen recording game from amateur hour to standing ovation, embrace these pro tips with the enthusiasm of a squirrel finding an entire cake. First, master the art of keyboard shortcuts. These are your secret weapons, allowing you to glide through tasks with the elegance of a figure skater. Next, remember that slow and steady wins the race. Keep your cursor movements as smooth as jazz, avoiding erratic jumps that could make your viewers seasick.
Before hitting that record button, rehearse your script or main talking points like you’re auditioning for Broadway. This isn’t just about knowing what to say, it’s about delivering it with the confidence of a cat wearing sunglasses. Finally, dip your toes into the world of editing software. It’s where your recorded masterpiece can be polished until it shines like the top of the Chrysler Building. Follow these steps, and you’ll be the Spielberg of screen recording in no time.
Stopping the Recording
Alright, maestro, you’ve conducted a symphony of clicks and navigated through the digital seas like the captain of a pixelated ship. But all good things must come to an end, and it’s time to bring your screen recording to a graceful close.
No need for dramatic goodbyes or curtain calls—simply navigate your cursor to the stop button nestled in the menu bar, as cozy as a cat in a sunbeam, and give it a gentle click.
Or, if you’re feeling like a keyboard wizard, a swift Command + Control + Esc will do the trick, ending your recording with the finesse of a magic spell. Just like that, your masterpiece retreats behind the scenes, saved to your desktop, eager for its next debut. No fuss, no muss—just a smooth exit stage left, ready for the spotlight of editing and sharing.

Editing and Sharing Your Screen Recording
Now that you’ve wrapped up your screen recording, it’s time to channel your inner Spielberg and dive into the editing suite. Think of it as giving your video a spa day, trimming off the excess, highlighting its best features, and maybe adding a snazzy title or two for that extra pizzazz.
Not a seasoned editor? Fret not! There’s a plethora of user-friendly editing software out there that’ll have you slicing and dicing your footage like a culinary genius in no time. Once your masterpiece has been polished to perfection, it’s ready to take on the world.
Sharing is a breeze, whether you’re sending it off to the cloud, showcasing it on social media, or simply emailing it to a friend. Consider each platform your digital stage, ready to broadcast your screen recording debut to an eager audience.
Remember, sharing isn’t just about spreading your work far and wide; it’s about connecting, teaching, and perhaps even inspiring those on the receiving end of your digital masterwork.

Troubleshooting Common Screen Recording Issues
Encountered a hiccup in your screen recording masterpiece? Fear not, dear digital maestro, for every problem has a solution as sweet as the resolve of a mystery in a detective novel.
If your video is more out of sync than a bad lip-reading, or if the dreaded lag decides to make a guest appearance, fret not. The vast digital library known as the internet holds the keys to these puzzles.
A quick safari (pun intended) through Google or a jaunt to the Apple support kingdom can unveil the magic spells needed to banish these gremlins back to the digital nether. Remember, no hero’s journey is without its trials, but with a bit of wit and wisdom, you’ll be back to recording glory in no time!
If you liked this article, please share it and subscribe to my website. For consulting work, please visit my website, Shift Gear and I would be glad to help you in your requirement.
Check this also – 10 Steps: Achieving CRM Go-Live Success – Shift Gear X – Build Your Future Net Worth Now
Ciao!


